
Taking on a complete property overhaul requires far more than inspiration and a construction budget. Without a master plan, even a passionate effort turns into a frustrating maze of delays, rework, and mounting costs. Executing whole home renovations requires coordinating specialized trades, building codes, and complex material logistics. When steps are executed out of order, early achievements get damaged by later construction activities.
The true art of property transformation relies on understanding how a house functions as an interconnected system. The exterior shell shields structural framing, structural stability supports interior finishes, and mechanical networks distribute power, water, and climate control throughout the entire footprint. Homeowners are often eager to jump straight to decorative surface updates like cabinet paint, decorative backsplashes, or new flooring because those elements deliver immediate visual satisfaction. However, placing high-end decorative finishes inside a building with a sagging foundation, leaking roof, or outdated wiring leads to wasted investments. Successful project management demands a disciplined outside-in and top-down strategy that secures structural integrity before moving to interior polish.
Establishing Clear Scope and Financial Planning
Before removing interior walls or siding, homeowners must establish a clear scope of work alongside a realistic financial framework. Major projects inevitably uncover hidden conditions once walls are opened or ground is excavated. Old wiring, hidden water damage, subfloor rot, and unpermitted additions are common surprises in older structures.
A thorough initial site assessment helps identify these hidden risks before construction crews arrive. Setting aside a contingency fund of fifteen to twenty percent ensures that unexpected repairs do not halt project momentum mid-stream. Financial planning must account for permit fees, architectural drawings, engineering inspections, and temporary living arrangements during heavy demolition or utility shutoffs.
Mapping out every phase on a unified timeline allows owners to order long-lead materials well in advance. Items like custom cabinetry, architectural windows, structural steel posts, and imported tile can take months to arrive. Having these items on-site or staged in a local warehouse before work starts eliminates costly downtime where sub-contractors are left waiting on missing supplies.
Selecting the Right Management Team

Managing dozens of independent specialty contractors requires exceptional organization, deep industry knowledge, and daily site oversight. While some property owners consider managing individual sub-contractors themselves, the sheer volume of scheduling coordination, code enforcement, and material deliveries often overwhelms non-professionals. Partnering with a reliable home remodeling contractor establishes a centralized point of management for the entire project lifecycle.
A qualified general contractor oversees daily operations, negotiates trade schedules, manages building permits, and enforces quality control across every phase. They maintain established relationships with vetted tradespeople, ensuring that electric, plumbing, framing, and finish teams show up on time and execute work to high standards. Furthermore, general contractors hold necessary liability insurance and worker compensation policies that protect property owners from liability during active construction.
Clear communication channels between the homeowner and contractor are critical throughout construction. Weekly site walkthroughs, transparent budget updates, and formal change-order documentation keep everyone aligned. This collaborative approach keeps complex projects moving forward smoothly while protecting both the construction schedule and the owner financial investment.
Phase 1: Site Clearing and Perimeter Safety
Once planning and permitting finish, construction begins on the property exterior. Preparing the surrounding site is essential to protect workers, heavy machinery, and the building structure itself. Overgrown vegetation, low-hanging limbs, and shallow root systems present major hazards to rooflines, overhead utility lines, and structural foundations.
Executing professional tree removal is often the first action required before heavy equipment enters the property. Dead, leaning, or improperly positioned trees close to the structure can drop heavy branches onto exposed framing during storms or disrupt underground sewer, gas, and water lines. Additionally, large delivery trucks, scaffolding rigs, and excavation equipment need open, unobstructed access around the entire home perimeter. Removing hazardous trees, grinding stumps, and trimming back dense branches establishes a safe work site for upcoming exterior phases.
Site preparation also includes erecting temporary security fencing, establishing designated material staging zones, setting up portable sanitation facilities, and installing silt fencing to control soil erosion. Taking care of these preliminary outdoor tasks protects neighboring properties from construction runoff and ensures that trade crews can work efficiently without site hazards.
Phase 2: Structural Foundation and Ground Stabilization
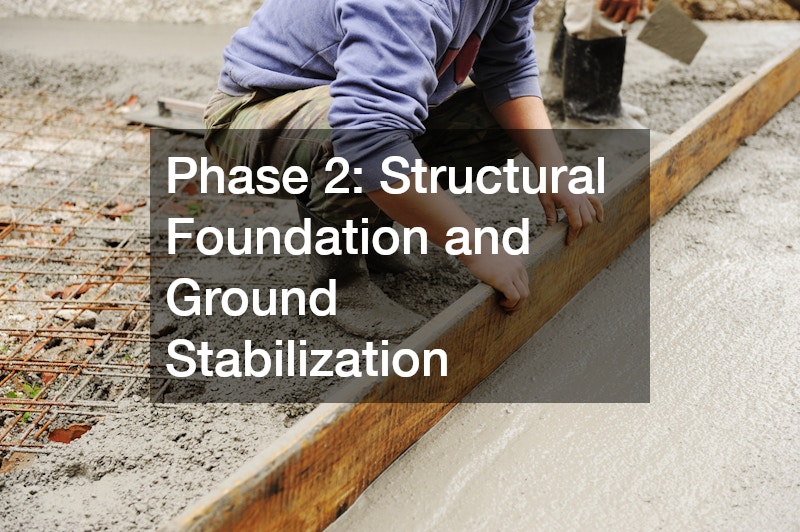
With the property clear and accessible, attention turns immediately to structural integrity. Installing expensive interior finishes inside a house with structural movement or settling issues guarantees long-term problems. Doors will bind, drywall will crack, and tile floors will snap if the underlying foundation continues to shift or sink unevenly.
Contracting specialized foundation repair services resolves structural defects before interior framing or cosmetic updates begin. Foundation technicians evaluate concrete footings, repair deep wall cracks, install steel piers to stabilize settling areas, and apply heavy waterproof coatings to underground walls. Correcting these foundation issues levels the floor framing and secures the entire building structure against future soil movement.
Addressing ground-level stability also includes analyzing soil conditions, slope drainage, and basement moisture levels. Repairing compromised footings and installing proper interior or exterior perimeter drains creates a dry, stable basement environment. Locking down foundation stability gives homeowners peace of mind, knowing that every dollar spent on subsequent framing, trim, cabinetry, and tile work remains fully protected against structural settling.
Phase 3: Building Envelope and Roof Drainage
After securing ground stability, the construction focus shifts to creating a completely weather-tight building envelope. Rain, snow, and ambient humidity can quickly ruin fresh framing, insulation, drywall, and interior woodwork. Sealing the home outer shell against water intrusion is mandatory before proceeding with any interior trade work.
Replacing or repairing damaged roofing shingles, installing new weather-resistive house wrap, and upgrading exterior siding form the primary line of defense. Once roof planes and exterior wall barriers are fully secured, managing water runoff becomes paramount. Quality gutter installation plays a critical role in carrying roof water away from the newly repaired foundation and exterior walls. Seamless aluminum or copper gutters paired with wide, properly placed downspouts collect heavy rainfall and channel it far from the building perimeter.
Failing to manage roof water runoff allows water to pool near foundation walls, causing soil erosion, baseline dampness, and potential basement seepage that compromises earlier foundation repairs. Establishing a fully functioning roof drainage system completes the exterior shield, allowing interior work to proceed safely regardless of seasonal weather patterns outside.
Phase 4: Interior Framing and Mechanical Rough-Ins
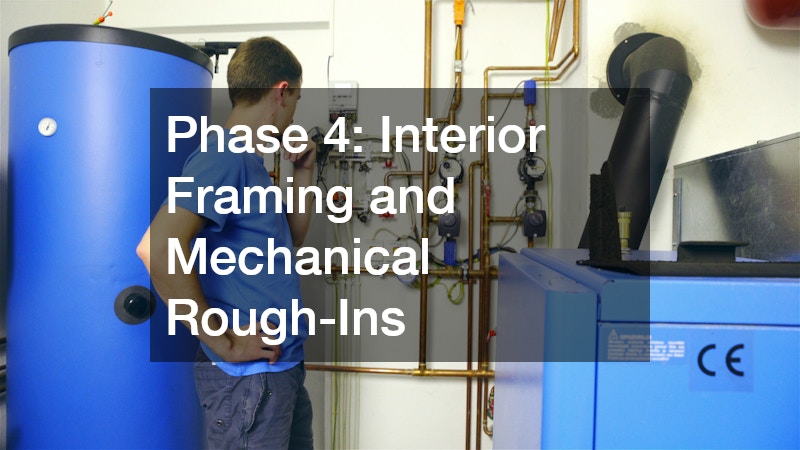
With a sealed exterior shell keeping water out, workers move indoors to begin interior demolition and structural reconfiguration. Outdated interior partition walls are removed, new structural headers are installed to create open-concept layouts, and subfloors are repaired or reinforced to support future tile and heavy stone features.
Once framing adjustments pass initial structural inspection, mechanical rough-ins begin. Plumbers, electricians, and HVAC technicians run main service lines throughout exposed wall cavities, floor joists, and ceiling voids. Electricians pull heavy electrical cables, position switch boxes, and install main breaker panels. Plumbers route main supply, drain, waste, and vent pipes across all floor levels. Mechanical contractors install rigid sheet metal ductwork, return air plenums, and exhaust ventilation paths.
Coordinating these rough-ins requires careful planning so that mechanical systems do not interfere with framing or each other. Passing local municipal rough-in inspections for building, electrical, plumbing, and mechanical work is mandatory before any wall cavities are closed up with insulation or wallboard.
Phase 5: Kitchen Infrastructure and Space Planning
Kitchens are among the most complex spaces due to the dense concentration of plumbing, electrical, gas, and mechanical systems. During mechanical rough-ins, layout accuracy down to fractions of an inch is critical for future appliance and cabinet installation.
Expert kitchen remodelers coordinate closely with rough-in trade crews to ensure all utility connections align precisely with architectural cabinetry drawings. Gas lines for ranges, high-voltage outlets for wall ovens, dedicated circuits for island outlets, water supply feeds for ice makers, and drain locations for sinks must match exact floor plans. Placing a drain or electrical box off by two inches disrupts cabinet installations and prevents appliances from sliding flush.
In addition to utility locations, space planning must account for proper clearance paths around islands, walkways, and appliance doors. Once utility locations are verified against cabinet shop drawings, framing and rough plumbing are locked in place. This level of precise planning eliminates costly field adjustments when expensive custom cabinetry and heavy stone countertops are installed during final finish stages.
Phase 6: Insulation, Drywall, and Surface Enclosures
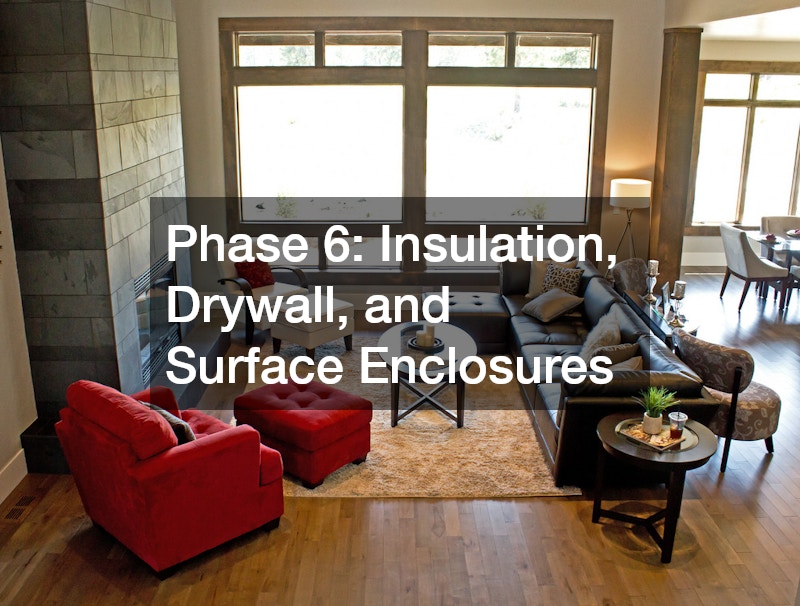
Once all rough-in trade inspections are officially signed off, the transformation moves into wall enclosure and surface preparation. Wall and ceiling cavities receive insulation to improve thermal efficiency, acoustic isolation, and energy savings. Fiberglass batts, blown cellulose, or spray foam insulation are installed according to regional building energy codes.
Following insulation, drywall panels are hung across all interior walls and ceilings. Taping, mudding, and sanding drywall joints requires patience and skilled labor to achieve smooth surfaces. Because sanding generates fine dust, site management must isolate work zones with plastic barriers and cover return air vents to protect HVAC ductwork.
After drywall primer is applied, hard surface flooring installation begins. Laying hardwood, engineered plank, or large format floor tile across main living areas sets the finished floor height for interior doors, baseboard trim, and cabinetry. Protecting these newly installed floors with heavy paper floor covers ensures that subsequent trim work and painting occur without scratching or staining expensive floor surfaces.
Phase 7: Bathroom Waterproofing and Finish Detail
Bathrooms require specialized moisture management protocols due to continuous exposure to water and humidity. Preparing shower enclosures, tub surrounds, and wet room floors requires far more rigorous waterproofing than standard living areas.
A skilled bathroom contractor applies cementitious backer boards, liquid waterproofing membranes, and pre-sloped shower pans before laying a single decorative tile. Ensuring water-tight seals behind tile assemblies prevents hidden leaks that rot floor joists and cause toxic mold growth inside wall cavities. Once tile installation, grouting, and stone curb sealing wrap up, vanity cabinets, quartz countertops, and plumbing trim fixtures are systematically installed.
In high-end custom bathrooms, installing a frameless glass shower door represents one of the final interior finishing touches. Precision measurements for glass panels are taken only after wall tiles and floor curbs are fully installed, as minor variations in tile thickness alter opening dimensions. Heavy tempered glass panels, smooth sliding hardware, and leak-proof seals provide an open visual feel while preventing water from splashing onto finished bathroom floors and custom vanities.
Phase 8: Hardscaping and Exterior Living Extensions
With interior finish work wrapping up and heavy trade equipment moving out, focus returns to the surrounding outdoor property. Construction traffic, delivery trucks, and material storage often leave yards compacted, rutted, and barren. The outdoor phase restores property aesthetics while expanding usable living space beyond the house walls.
Professional hardscape companies design and install functional outdoor features like paver patios, stone walkways, retaining walls, outdoor kitchens, and seating walls. Executing hardscape construction late in the project timeline protects freshly laid pavers and stone masonry from heavy trade truck traffic and heavy material drop-offs. Sub-base preparation involves excavating soft soil, laying crushed stone aggregate, and compacting gravel layers to ensure long-term stability against frost action and settling.
In addition to outdoor entertainment spaces, hardscaping integrates with overall site drainage. Retaining walls manage soil grade changes, paver surfaces direct rainwater away from the foundation, and decorative gravel channels direct surface runoff into French drains or rain gardens, preserving the structural integrity of both the home and the newly finished landscape.
Phase 9: Landscape Edging and Final Property Integration
The final stage of a whole-home renovation master plan completes the outdoor aesthetic with refined landscape details, lawn installation, and perimeter bed edging. Once heavy stone patios and walkways are set, final earth grading restores smooth natural contours across the yard. High-quality topsoil is distributed, and sod or grass seed is established to complete softscape areas.
Incorporating specialized landscape curbing services provides an elegant, durable border between lawn areas, flower beds, and walkway paths. Extruded concrete curbing offers a permanent, continuous edge that keeps mulch in place, suppresses weed expansion, and resists damage from lawn mowers. Unlike plastic or metal edging that shifts and corrodes over time, custom concrete curbing can be stamped or colored to complement nearby hardscape pavers and home exterior masonry.
With landscape borders established, final plantings, ornamental shrubs, automated irrigation lines, and low-voltage landscape lighting are installed. This cohesive final step connects the home exterior, living spaces, and surrounding grounds into a unified, functional property transformation that provides lasting comfort, beauty, and value for decades to come.