A comfortable backyard used to feel like a luxury reserved for sprawling estates or homeowners with unlimited budgets. That perception is outdated. Between smarter materials, modular installation methods, and more competitive pricing across the outdoor improvement industry, creating a backyard you actually want to spend time in is more affordable than most homeowners realize. This guide breaks down the real costs and practical options behind today’s most popular backyard upgrades, so you can plan a project that fits your space and your budget.
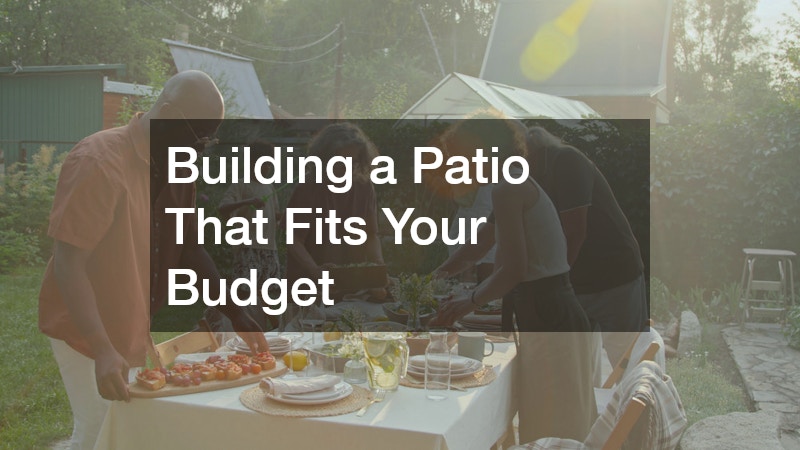
Building a Patio That Fits Your Budget
A patio remains one of the highest-value additions you can make to a backyard, and the cost range is wider than most people expect. Basic gravel or poured concrete patios can start surprisingly low, while stamped concrete, pavers, or natural stone push the price higher depending on square footage and site prep. Working with an experienced patio building service helps you avoid costly mistakes like poor drainage grading or uneven bases that lead to cracking within a few years.
Getting quotes from more than one contractor is worth the extra time, since labor costs can vary significantly based on regional demand and the complexity of your yard’s terrain. Ask for a breakdown of material versus labor costs so you understand exactly where your money is going.
- Gravel or paver patios tend to be the most budget-friendly starting point
- Poured concrete offers a middle-ground cost with long-term durability
- Natural stone and stamped concrete cost more but add resale value
- Site prep and drainage work often account for a large share of the total price
- Smaller, well-placed patios can feel just as functional as oversized ones
Choosing Materials That Balance Cost and Durability
The materials you choose for hardscaping, edging, and ground cover have a bigger impact on your total project cost than most homeowners initially assume. Basic gravel and mulch remain the most economical options for filling space, while pavers, brick, and natural stone cost more upfront but last considerably longer. Shopping around for landscaping materials at local suppliers rather than big box stores can often save money, especially when buying in bulk for larger projects.
It also helps to think about maintenance costs over time, not just the sticker price at checkout. A slightly more expensive material that resists fading, cracking, or weed growth can end up cheaper over a five or ten year span than a budget option you have to replace repeatedly.
- Mulch and gravel are the cheapest ground cover options
- Pavers offer a good balance of cost, looks, and longevity
- Natural stone costs more but rarely needs replacing
- Buying in bulk from local suppliers often reduces per-unit costs
- Factor in long-term maintenance, not just initial purchase price
Adding Retaining Walls Without Overspending
Sloped or uneven yards often need retaining walls to prevent erosion and create usable flat space, and many homeowners assume this is an expensive fix. In reality, smaller segmented block walls under four feet tall are relatively affordable and can often be installed in a weekend by a landscaping crew. Taller or structural retaining walls that require engineering and permits will cost more, but they also solve serious drainage and soil stability problems that could otherwise damage your foundation or landscaping over time.
The key to keeping costs reasonable is matching the wall material to the actual job it needs to do. A simple garden bed border does not need the same engineering as a wall holding back several feet of soil on a steep hillside.
- Concrete block walls are typically the most budget-friendly option
- Natural stone walls cost more but blend better with existing landscaping
- Wall height and soil pressure determine whether permits are required
- Proper drainage behind the wall prevents costly future repairs
Illuminating Your Yard for Evening Use
Extending the usable hours of your backyard often comes down to lighting, and this is one area where costs have dropped considerably thanks to LED technology. Low-voltage systems are far cheaper to run and install than older high-voltage setups, making landscape lighting accessible even for modest backyard budgets. Path lights, uplights on trees, and step lights are typically the most affordable starting points before adding more elaborate features.
Solar-powered fixtures have also improved in reliability and brightness, offering a no-wiring option for homeowners who want to avoid electrical work entirely. While they may not match the consistency of wired systems, they are a reasonable starting point for smaller budgets or rental properties where permanent installation is not practical.
- LED fixtures use a fraction of the electricity older halogen lights required
- Path and step lighting improve safety at a relatively low cost
- Solar options avoid wiring costs but perform less consistently
- Dimmable and smart-controlled systems add convenience without huge added expense
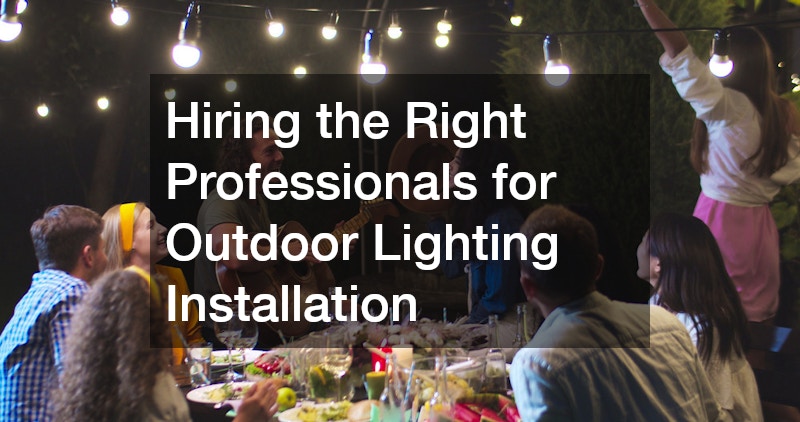
Hiring the Right Professionals for Outdoor Lighting Installation
While solar stake lights are simple enough for a DIY afternoon, more elaborate lighting designs benefit from professional help. Skilled landscaping light installers understand voltage drop, fixture placement, and how to run wiring underground without damaging existing plant roots or irrigation lines. This expertise often prevents the flickering, uneven lighting, or premature bulb failure that comes from poorly planned DIY installations.
A well-designed outdoor lighting plan considers layering, meaning a mix of general, task, and accent lighting rather than a handful of scattered fixtures. Professionals can also help you avoid over-lighting a space, which wastes electricity and creates harsh shadows instead of the warm, inviting glow most homeowners are after.
- Professional installers understand proper voltage and transformer sizing
- Layered lighting designs look more natural than single-source setups
- Underground wiring should be installed at safe depths to avoid future damage
- A lighting plan can be phased in over time to spread out costs
Keeping Your Lawn Green Without Wasting Water
An efficient irrigation system is one of the most overlooked ways to save money on backyard comfort over time. Sprinkler heads that are misaligned, clogged, or broken waste significant amounts of water and drive up utility bills without actually helping your lawn. Scheduling regular sprinkler repairs before the summer season starts is far cheaper than replacing an entire dead lawn or dealing with water damage from a leaking line.
Smart irrigation controllers have also become more affordable and can adjust watering schedules based on weather conditions, cutting water waste significantly. Many utility companies even offer rebates for upgrading to these systems, which helps offset the initial cost.
- Broken or misaligned sprinkler heads are among the most common water wasters
- Smart controllers adjust watering based on real-time weather data
- Seasonal system checkups catch small leaks before they become expensive
- Some utility providers offer rebates for water-efficient upgrades
Working With Professionals Who Understand Local Soil and Climate
Every region has different soil types, rainfall patterns, and grass species that thrive locally, which is why working with a local irrigation company often produces better results than a one-size-fits-all national chain. Local technicians understand how clay-heavy soil drains differently than sandy soil, and they can design a watering schedule suited to your specific lawn rather than a generic template. This localized knowledge often prevents overwatering, a common and costly mistake that leads to fungus, root rot, and wasted water bills.
Building a relationship with a local provider also means faster response times when something breaks, since they are already familiar with your property’s layout and system history. This familiarity can shave real money off diagnostic time during emergency repairs.
- Local providers understand regional soil composition and rainfall patterns
- Faster response times reduce water waste during system malfunctions
- Familiarity with your yard speeds up diagnosis and repair
- Local expertise often prevents overwatering and related lawn damage
Creating Shade Structures for All-Day Comfort
Shade is one of the simplest ways to extend the comfortable hours you can spend outside, especially during peak summer afternoons. Retractable awnings, pergolas, and simple canopy structures all offer different price points and levels of permanence depending on your needs. Adding patio shades to an existing structure is often far cheaper than building a fully covered structure from scratch, making it a smart middle-ground option for many budgets.
Fabric quality matters more than people expect when shopping for shade solutions, since cheaper materials fade and tear within a season or two under strong sun exposure. Investing slightly more in UV-resistant, weatherproof fabric usually pays off through a longer lifespan and less frequent replacement.
- Retractable awnings offer flexibility without a full permanent structure
- Pergolas add architectural interest but cost more than simple canopies
- UV-resistant fabric lasts longer under direct sun exposure
- Shade placement should consider the sun’s path throughout the day
Deciding When to Hire Help and When to DIY
Not every backyard upgrade requires a professional crew, and knowing where to draw that line can save a meaningful amount of money. Simple tasks like spreading mulch, planting shrubs, installing solar lights, or building a basic raised garden bed are reasonable weekend projects for most homeowners. These jobs typically require only hand tools, cost under $200 in materials, and carry little risk if something goes wrong.
More complex jobs involving grading, drainage, electrical wiring, gas lines, or structural elements like retaining walls and pergolas are usually better left to professional landscaping services that carry insurance and understand local building codes. A poorly graded yard, for instance, can send water straight toward your foundation, turning a DIY savings project into a costly repair bill down the road. Retaining walls over a few feet tall often require permits and engineering knowledge that most homeowners simply don’t have.
Before deciding, weigh three practical factors: the tools required, the time commitment, and the cost of mistakes. If a project needs rented equipment like a sod cutter or trencher, the rental fees alone may narrow the price gap between DIY and hiring out. And if a mistake could mean redoing an entire patio or damaging utility lines, the peace of mind that comes with professional landscaping services is often worth the extra expense.
A hybrid approach often works best, where homeowners handle the simpler cosmetic tasks themselves and hire out the technical work that carries higher risk if done incorrectly. Painting fences, assembling planters, laying mulch, or installing simple pavers are all reasonable DIY jobs that require more time than skill. Save the professionals for anything involving electrical wiring, gas lines, structural framing, or grading that affects drainage, since mistakes there can be expensive or even dangerous.
This split can cut total project costs substantially while still ensuring the parts of the job that matter most for safety and longevity are done right. For example, a homeowner might save 30-40% on a patio build by doing the demolition and cleanup themselves while hiring out the concrete pour and leveling. On a deck project, staining and railing installation are often DIY-friendly, while footings and load-bearing posts should go to a licensed contractor.
Before deciding, it’s worth checking local permit requirements, since some tasks that seem simple, like installing a fire pit or a retaining wall over a certain height, may legally require professional involvement anyway. Homeowners should also factor in tool costs; renting a trencher or concrete mixer for a single weekend project can sometimes erase the savings of doing it yourself. Weighing time, skill level, and liability against the actual dollar savings helps determine where the DIY line should realistically be drawn.
- Mulching, planting, mowing, and basic cleanup are DIY-friendly tasks that need only hand tools and a weekend
- Simple deck staining, fence repair, and small paver patios are doable for confident beginners
- Electrical and structural work should go to licensed professionals to protect your safety and your home’s warranty
- Gas lines, load-bearing changes, and anything tied to your main electrical panel fall into this category
- Permits may be required for larger structures, decks over a certain height, or grading changes that affect drainage
- Skipping permits can cause problems later, from fines to trouble selling the home
- A phased project plan spreads costs out over multiple seasons, easing strain on any single budget
- Start with foundational work like grading and hardscaping, then add plantings and features in later phases
Backyard comfort no longer has to come with an intimidating price tag, especially when you break a larger vision down into smaller, manageable phases. Start by identifying which upgrades matter most to how you actually use your outdoor space, then research costs and get a few quotes before committing to any single project. With some planning and the right mix of DIY effort and professional help, a more comfortable backyard is closer within reach than you might think.